
I still remember the first time I brought a platter of little green treats to a school party the laughter and the delighted crunch as kids and parents discovered those tiny shamrock-shaped bites made the whole kitchen feel like a little place of celebration. These Shamrock Pretzels are exactly that kind of food: simple to make, playful to present, and built for sharing. They turn an ordinary snack table into a conversation starter and give busy parents and hosts an easy win that looks like you spent hours fussing. I always say the best dishes are the ones that bring people close, literally passing plates and telling stories while the treats disappear.
I’m Emma, and I bring a mix of practical know-how and a love of family-centered cooking to every recipe. I started my culinary career catering in Atlanta, where I learned to move fast, plate beautifully, and keep flavor front and center for hungry crowds. After 16 years in food juggling weddings, corporate events, and neighborhood potlucks I shifted my focus to this blog so I could share quick, reliable recipes that busy families actually use. As a mom of two and a wife for over twenty years, my kitchen is the hub of our home. I believe recipes should be honest, fun, and flexible. Follow a recipe, then add a twist swap a sprinkle color, try a flavored candy melt, or let the kids arrange the shapes. These Shamrock Pretzels are one of those joyful little projects that create memories without stress, and they’re a perfect example of how a tiny idea can bring a crowd together.
Table of Contents
Table of Contents
Why this recipe works
Shamrock Pretzels succeed because they combine texture and visual charm with minimal fuss. The salty snap of the pretzels contrasts perfectly with the sweet, creamy coating of the candy melts, and when you arrange three pretzels into a shamrock shape, the result looks festive without any ornamental effort. These Shamrock Pretzels benefit from a short ingredient list and a very short list of steps, so they stay accessible for busy moms, caterers prepping a quick dessert table, or teenagers wanting a fun DIY snack. The green candy melts set quickly, especially if you pop the shaped pieces into the fridge for a few minutes, which means you can assemble a large batch in under half an hour.
Another reason these Shamrock Pretzels work is that they scale. Make a dozen for a classroom party, or double and triple the recipe for a potluck tray; everything holds up well at room temperature for a party-length window. The candy coating provides a protective layer that helps the pretzels stay crisp longer than a plain chocolate drizzle might, and the addition of sprinkles adds a playful texture and color punch that kids and adults both appreciate. Because the technique is simple, you can encourage helpers of all ages to join in station one person dipping, another arranging the shamrocks, and a third adding the stems turning prep into part of the celebration. These Shamrock Pretzels are small, but they deliver big on charm and convenience.
How to prepare Shamrock Pretzels
Start by melting the green candy melts gently in short bursts in the microwave, stirring between bursts until smooth. You want a fluid but not overly hot coating so the pretzels won’t soften. Holding a mini pretzel by the edge, dip it into the melted candy until the top half is coated, then lift and tap off excess. Place coated pretzels on parchment or a silicone mat to set briefly. Repeat until you have a good number of coated pretzels to assemble multiple shamrocks. To form the classic three-leaf shamrock, place three coated pretzels with their rounded edges touching in a triangle pattern, so the inner curves meet to create the leaf shapes. Use an uncoated pretzel piece as a stem and attach it with a dab of more melted candy for a secure hold.
If you’re preparing a large batch of Shamrock Pretzels for a party, work in small batches so the candy stays at the right consistency. If it starts to thicken, reheat in 5–10 second bursts and stir until smooth again. For a smoother finish, dip once, chill to set, then re-dip for a fully opaque coating. Add sprinkles immediately after placing each shamrock so the decorations adhere while the candy is still tacky. When the shapes are set, move them to a platter or gift bag. These Shamrock Pretzels store well for a few days at room temperature if kept in an airtight container away from heat and humidity.
Ingredients
Mini pretzels
Green candy melts
Sprinkles
Instructions
Dip the pretzels in the green candy melts, ensuring they are fully coated.
Carefully arrange three dipped pretzels together to form a shamrock shape.
Use an additional pretzel piece for the stem of the shamrock.
Serving ideas
Serve Shamrock Pretzels on a small tiered tray for a themed party or scatter them in colorful paper cups for classroom treats. They work beautifully alongside other bite-sized sweets pair them with sugar cookies, green-frosted cupcakes, or a bowl of fresh fruit to balance sweetness with brightness. For a playful dessert board, place Shamrock Pretzels near bowls of mixed nuts, caramel popcorn, and bite-sized brownies; the variety keeps guests nibbling and mingling. If you want to be extra charming, wrap sets of three or six Shamrock Pretzels in clear cello bags tied with green ribbon for party favors or teacher gifts.
For family nights, try arranging the Shamrock Pretzels on a large plate in the center of the table and invite everyone to pick their favorite it’s a quick, informal way to make dessert feel communal. If you’re hosting an outdoor picnic, keep a small cooler nearby to protect the candy coating from direct sun. When plating for photos or a dessert table, layer the pretzels on a bed of green shredded paper or eucalyptus sprigs to echo the shamrock theme; presentation makes a simple treat look extra special. These Shamrock Pretzels are small, shareable, and designed to bring people together, whether you’re celebrating a holiday, staging a classroom party, or creating a cute after-school snack.
Storing this recipe
Store Shamrock Pretzels in a cool, dry place in a single layer or with parchment between layers to prevent sticking. An airtight container works best if you stack them, separate layers with wax paper to keep the candy coating intact. At room temperature away from direct sunlight and heat, these treats will stay crisp and fresh for about three to five days. If you need to keep them longer, refrigeration can extend shelf life, but be careful: moisture from condensation can soften the pretzel crunch, so wrap them tightly and allow chilled pretzels to come back to room temperature before serving for the best texture.
For make-ahead convenience, you can fully assemble the Shamrock Pretzels and freeze them on a tray until solid, then transfer them into a freezer-safe container. Thaw in the fridge or at room temperature before serving; treat them gently to avoid condensation forming on the candy finish. If the candy melts bloom (a white film) after refrigeration or freezing, they are still safe to eat but less glossy; a quick display in a dry, room-temperature environment often helps them regain a pleasant look. When transporting to a party, keep Shamrock Pretzels in a padded box or a shallow container with dividers to maintain their shape and presentation.
Emma’s Kitchen Tips
From my catering days in Atlanta, I learned that small preparations make big differences. Use good-quality candy melts for even melting and easy dipping; cheaper coatings sometimes separate or thicken too quickly. Heat the candy melts slowly and stir frequently so you keep a smooth, dippable texture. If you want the coating thinner for smoother coverage, add a teaspoon of vegetable shortening or a few drops of coconut oil and stir until incorporated. When arranging Shamrock Pretzels, work on a parchment-lined baking sheet so you can move finished pieces to a platter without sticking or breaking.
For kids, set up a dipping station: one bowl with melted green candy, a tray of pretzels to dip, and a sprinkle station for decorating. Supervise the hot bowl, but let children choose sprinkle combinations to personalize their Shamrock Pretzels. For a professional touch, pipe a dot of contrasting colored candy in the center of each shamrock before the coating fully sets. And for catering-style service, arrange Shamrock Pretzels in neat rows on a white platter; the simple green shapes pop against neutral backgrounds and make an understated, elegant snack offering.
Make it your own
Personalize Shamrock Pretzels by changing colors, textures, and flavors. Swap green candy melts for pale mint or speckled white for a softer look, or add a few drops of peppermint extract to the melted candy for a seasonal flavor twist. Try using flavored candy melts like orange or lemon to create a different vibe or to match a party palette. Change up sprinkles: use metallics for a glitzy touch, nonpareils for a delicate look, or chopped nuts for extra crunch (attach nut pieces with a dab of melted candy).
If you want to elevate Shamrock Pretzels for adult gatherings, dip some pieces in dark chocolate and finish with flaky sea salt for a sweet-salty adult-friendly option alongside the classic green ones. For classroom-safe versions, choose allergen-free candy melts and labels for packaging. Experiment with shapes: instead of the classic three-leaf arrangement, try four pretzels for a flower motif or small clusters for confetti-inspired bites. The technique is forgiving, so encourage playful experiments that’s where the best twists happen and where a simple recipe like Shamrock Pretzels becomes an expression of your personal kitchen style.

Frequently asked questions
Q: How long do Shamrock Pretzels stay fresh?
A: Stored in an airtight container at room temperature and kept away from heat and humidity, Shamrock Pretzels typically stay fresh for about three to five days. The candy coating helps preserve the crispness of the pretzels, but if you refrigerate them, be mindful of condensation when you return them to room temperature that moisture can soften the crunch. For longer storage, you can freeze assembled pretzels on a tray, then transfer them to a freezer-safe container; thaw gently before serving.
Q: Can I make Shamrock Pretzels without candy melts?
A: Yes. If you don’t have candy melts, tempered chocolate or melting wafers can work as substitutes. White chocolate chips combined with a little vegetable shortening can mimic candy melt behavior and accept coloring with oil-based candy color or colored cocoa butter. Keep in mind that some alternatives may flavor or texture the coating differently, so test one or two pretzels first to ensure you like how they set and taste.
Q: What if the candy coating thickens while I’m working?
A: Candy melts can thicken as they cool. If that happens, reheat the bowl in 5–10 second microwave bursts, stirring thoroughly between bursts until the mixture regains a smooth, pourable consistency. Avoid overheating. You can also add a small teaspoon of shortening or a few drops of neutral oil to thin the mixture slightly and improve dipping consistency. Working in small batches helps maintain the right temperature and texture for consistent Shamrock Pretzels.
Conclusion
If you want a step-by-step visual or alternate plating ideas, this Shamrock Pretzel Pops tutorial is a lovely companion with extra photos and tips to inspire your own twists.
Print
Shamrock Pretzels
- Total Time: 15 minutes
- Yield: 12 servings
- Diet: Vegetarian
Description
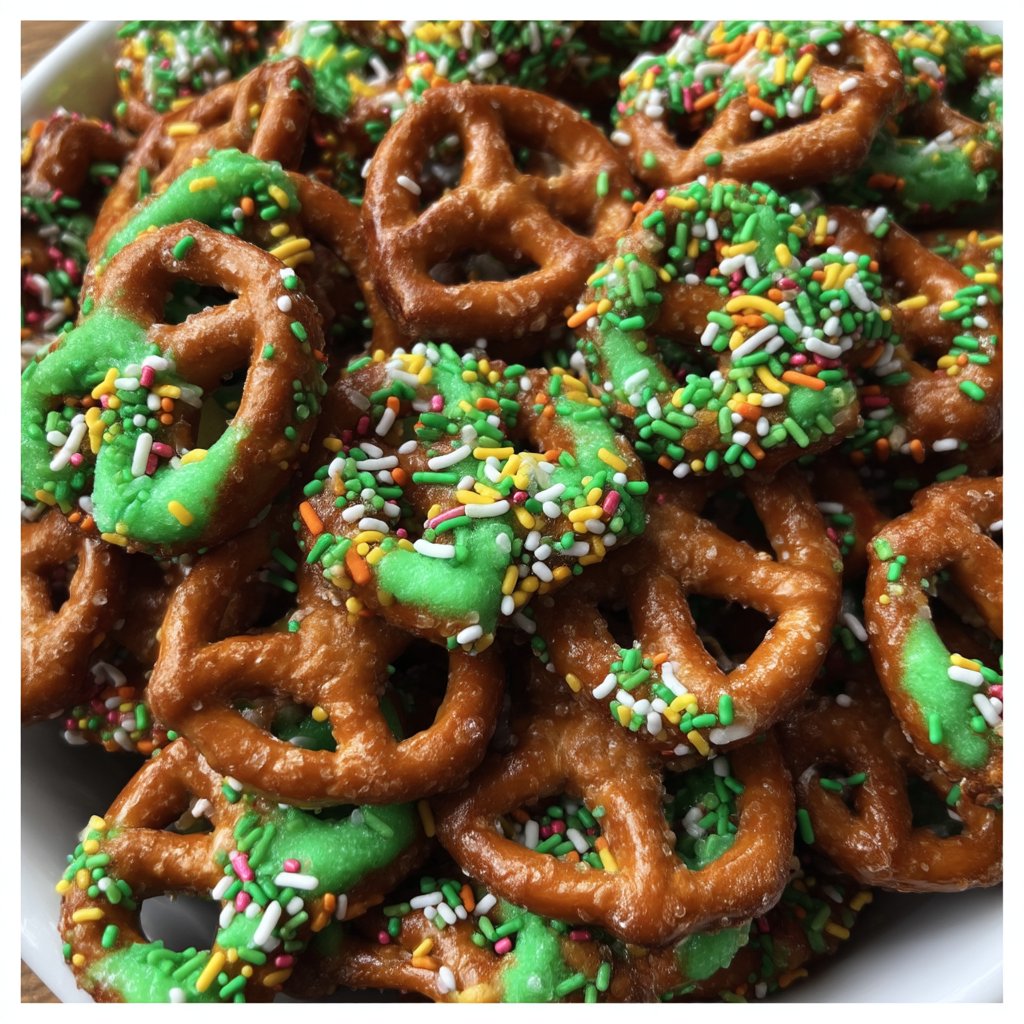
These festive Shamrock Pretzels are easy to make and perfect for sharing at parties or festive celebrations. A delightful mix of salty pretzels and sweet candy coating brings joy to any gathering.
Ingredients
- Mini pretzels
- Green candy melts
- Sprinkles
Instructions
- Dip the pretzels in the green candy melts, ensuring they are fully coated.
- Carefully arrange three dipped pretzels together to form a shamrock shape.
- Use an additional pretzel piece for the stem of the shamrock.
Notes
Experiment with colors and flavors of candy melts, use different sprinkles, or even add a few drops of peppermint extract for a twist.
- Prep Time: 10 minutes
- Cook Time: 5 minutes
- Category: Snack
- Method: Dipping
- Cuisine: American